Collaborate
Collaborate is a PROS PIVOT CHAT platform (powered by Rocket Chat) that allows PIVOT users to communicate securely in real-time
across devices on the web, desktop, or mobile applications.
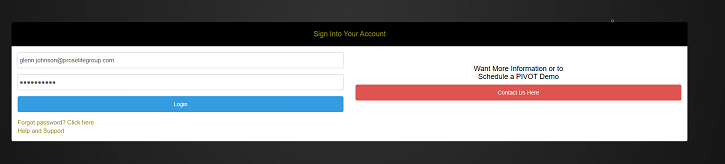
Note: Log in
Your PIVOT system administrator enables your login. If Collaborate is enabled, follow the on-screen prompts to log in.
Ex. Joe.Smith@companyname.com
1.2 Review and Accept Hosted Service Agreement for PIVOT
Note: User must read and scroll down to the end of agreement to “accept” agreement
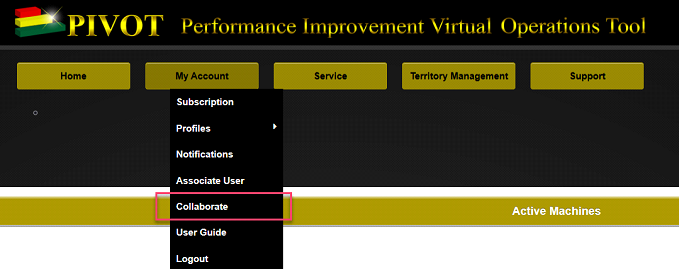
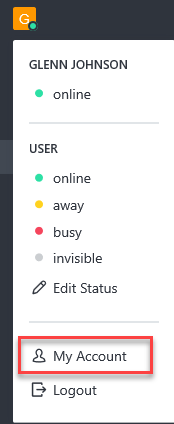
1.3 Select My Account:
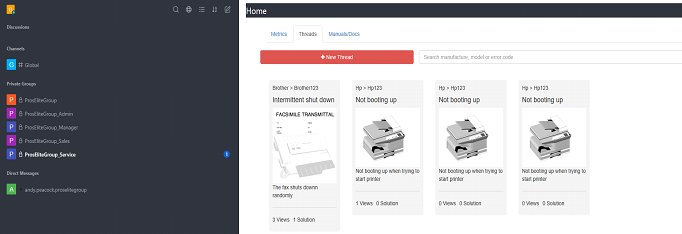
1.4 Collaborate (Pros Pivot Chat) HOME screen
1.5 Verify User Status and “My Account” Information
1.6 HOME Screen Settings (Far Right Side)
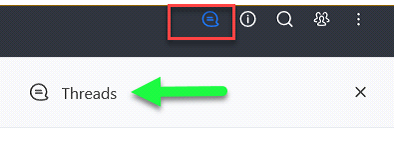
1.7 Threads
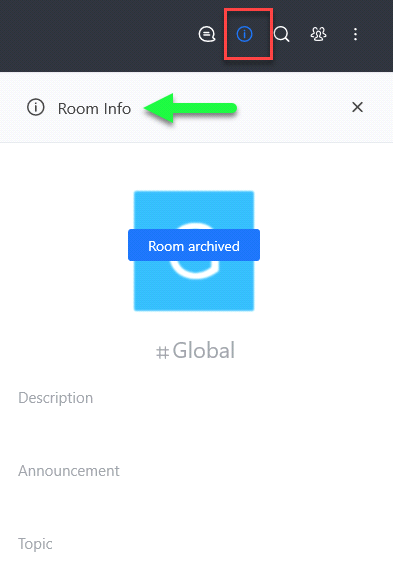
1.8 Room Information
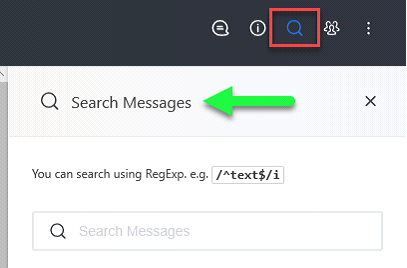
1.9 Search Messages
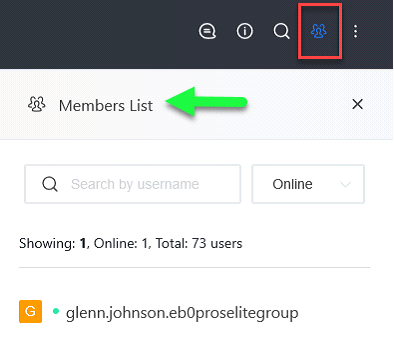
1.10 Members List
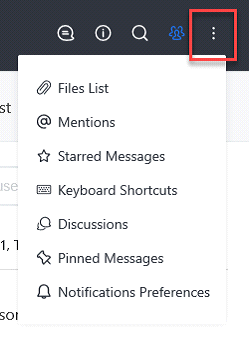
1.11 Additional Functionality
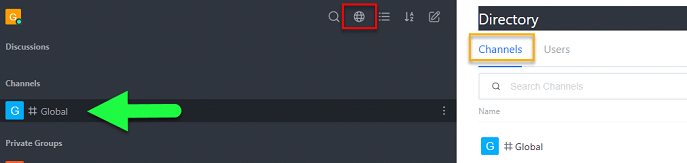
2.0 Talking to users from another server (dealership or network)
Select #Global
- Select Channels
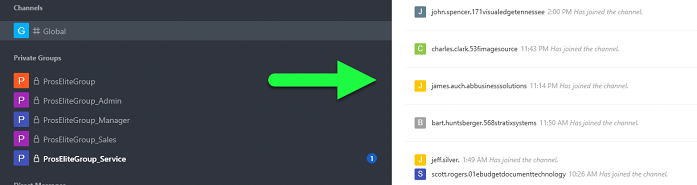
2.1 Inviting remote users and chatting
If you click on one of those listed users, you will invite them to your server without login access. Also, you and everyone else on your server will be able to chat with that new remote user.
You should be able to look for users on remote servers, called peers. You can search using a combination of a username and a domain or an e-mail address, like:
· Username: myfriendsusername@anotherdomain.com
· E-mail address: joseph@remotedomain.com
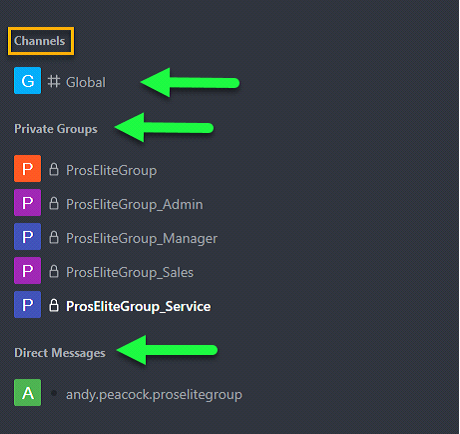
3.0 Using Channels
Conversations in occur in channels. Channels are chat rooms with useful features designed to increase communication and collaboration.
3.1 Public channels
Public channels (also called channels for short) act as a base for all channel types. Use channels for conversations that are open. Anyone on your team can join a channel.
Channels make it easy to find what’s going on with your team. New team members can join a channel and read all the information previously shared by other users.
When in doubt, create a channel. Public conversations help you build a knowledge base of your organization with minimal effort.
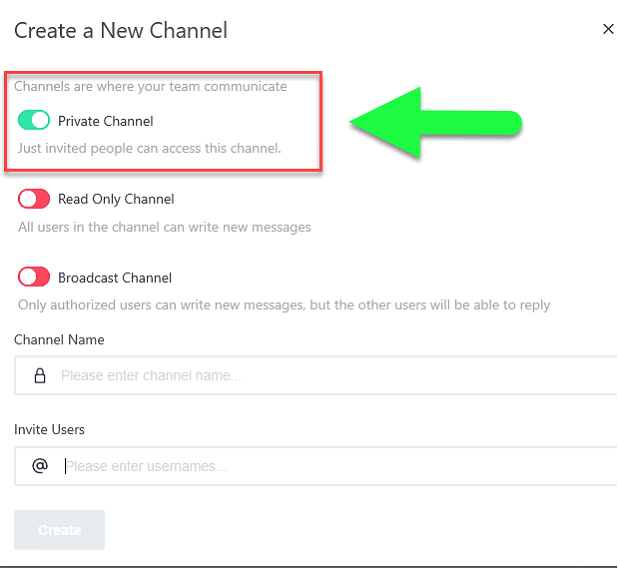
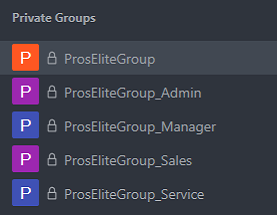
3.2 Private Groups
Private groups are closed channels. They are visible only to their members. Use private groups for subjects that are sensitive, confidential, or limited to a small group of team members.
Private groups are joined through invitation only. The administrator sets the permissions that determine who can invite others to a private group. By default, only administrators, room owners,
and moderators can invite others to private rooms.
3.3 Direct Messages
Direct messages (DMs) are a private 1-on-1 conversation between team members. They can be sent to any user on your server.
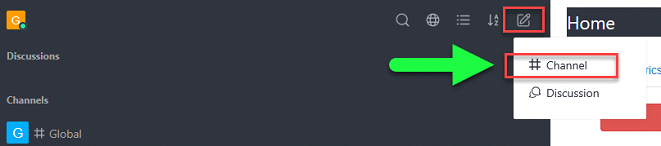
4.0 Joining new channels and starting direct messages
There are three ways of joining a public channel; through search, invites, or mentions.
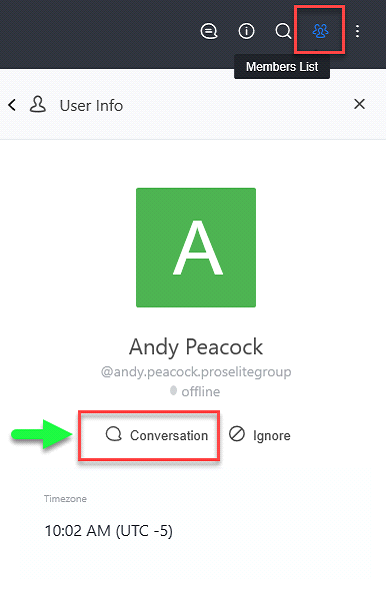
For starting a direct message, you can either search the user you want to talk or click on that user’s avatar and click on the Conversation Button.
To search for channels and users, use the search bar under your account box. Alternatively, you can press Ctrl/Cmd + k to access the search bar quickly.
A search will find channels (including the ones you are part of) and users. You cannot search inside private channels.
When you click on a search result, the following can happen:
· If the result is a channel, and you already aren’t part of it, you will join that channel.
· If the result is a user, you will start a direct message with that user.
5.0 Messaging
To compose a message, go the channel or user you want to send a message. Type the message box and press Enter or the Send Button.
5.1 Notify other team members
To get the attention of a specific team member in a channel, type @ followed by their username, for example, @username. The mentioned user sees a red badge on the channel or is notified via email or their mobile device if they’re not online.
You can also notify everyone in a channel by typing @all. We recommend using @all sparingly. Although notifying everyone in the channel is useful for announcements, not every message requires this.
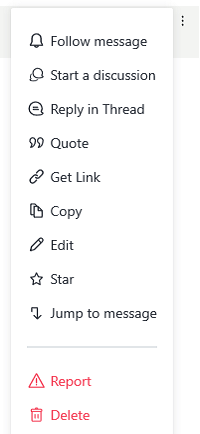
6.0 Message Actions
Message actions allow you to interact with messages that you’ve already posted.
6.1 Open message actions
To open the message actions menu, place your mouse over the message and click the actions menu on the left.
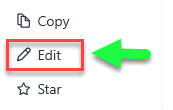
6.2 Edit messages
To edit a message, click on the edit option on the message actions menu. You can also place your cursor in the message box and press the Up arrow to edit your last message.
By default, only administrators, moderators, and owners of the channels can edit messages from other users.
6.3 Draft messages
All drafts of message edits are saved so you can return to edit later. When drafting a message, press Escape to discard the draft.
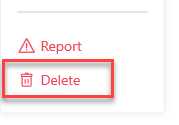
6.4 Delete messages
To delete a message, click Delete in the message actions menu.
6.5 Star messages
Star messages to make the message easier to find it later. To STAR a message, click Star option in the message actions menu. If you want to remove the star from an already starred message, click Remove Star.
Find starred messages by going to the channel actions menu and clicking Starred Messages. Starred messages are per chat room and are not global; each room has its list of starred messages.
6.6 Pin messages
Pin a message to a channel to make that message easily accessible to all users on the channel. To pin a message, select the Pin Message option in the message actions menu. Remove already pinned messages by selecting Remove Pin.
7.0 Channel Actions
Inside channels, you can also do more than post messages and upload files. Increase your interaction with messages through Channel actions.
7.1 To find channel actions, go to the right of the channel title and click the menu.
Channel actions vary depending on the server configuration, so the items listed below might not all be visible in your installation.
7.2 Favorite
To help organize and prioritize your communications, you can favorite (or star) channels, private groups, and DMs.
To favorite a channel, click the star icon to the left of the channel header.
Favoriting a channel moves it to a Favorites section on the channels list, making it easier to access and find.
7.3 Channel Info
Here you can see all kinds of information about the current channel. If you have admin permissions, you can edit this information. These are the channel info options:
· Channel Name: The name of the channel, how users see the title and find the channel via search.
· Topic: The topic shows next to the title on the channel header. Great for giving more info about the channel.
· Announcement: Announcements post in a bar under the channel header.
· Description: The description of the channel.
· Private: Tells whether a channel is private and can set the channel to private or public.
· Read Only: Tells whether a channel is read-only and toggles the read-only status on the channel. In read-only channels, only people with admin permissions can post messages. Good for announcements channels.
· Archived: Tells if a channel is archived and toggles the archived status of a channel. Nobody can post messages in an archived channel, and channel search will not find that channel.
· Password: Tells whether a channel has a password and let you set the password. If a channel has a password, other users need to enter the password to become a member of the channel.
8.0 Manage Your Account
Manage your account settings through the browser, desktop, and mobile apps.
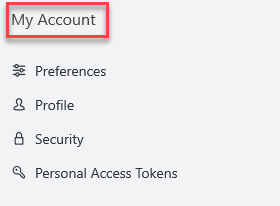
8.1 Access My Account
8.2 Enable / Disable Messages
To Enable or disable all desktop notifications, test desktop notifications, and configure:
· The global notification duration in seconds
· Enter key behavior:
o Normal mode (send with Enter)
o Alternative mode (send with Enter + Ctrl/Alt/Shift/CMD)
o Desktop mode (only sends with Enter on desktop)
· View mode
o Normal: The default spacing between messages
o Cozy: More space between messages (less on the screen)
o Compact: Less space between messages (more on the screen)
· Offline Email Notifications
o Disabled
o Every Mention/Direct Message