12.2 Address Verification - Sales Address Geocoding
1.0 Geocoding- Latitude / Longitude
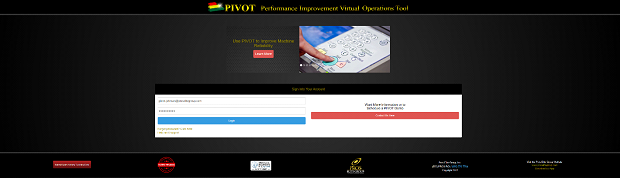
Ex. Joe.Smith@companyname.com
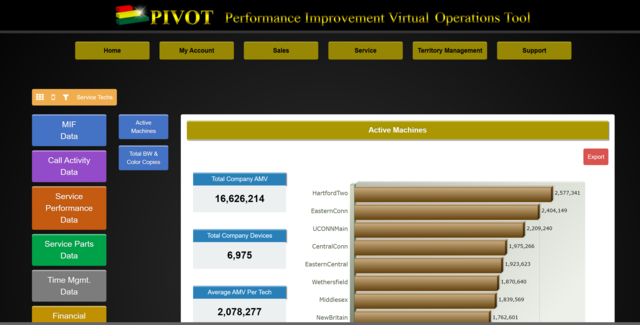
1.2 Home Screen
1.3 From the Home screen, select Territory Management
Select - Address Verification
Select- Long/Lat Geocoder
Select- Address Geocoder
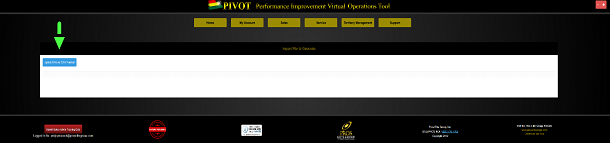
1.4 Select the BLUE Upload File Icon
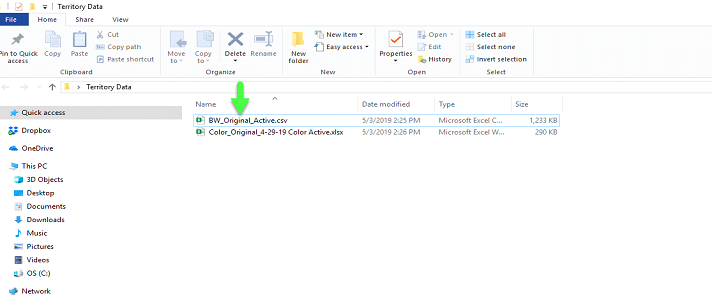
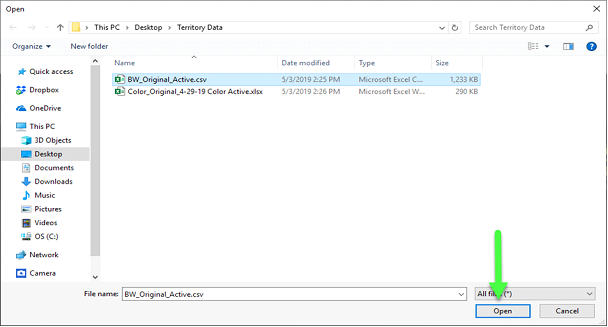
1.5 Select your Black and White .csv file
Note: Your file name may be different
1.6 Open .csv file
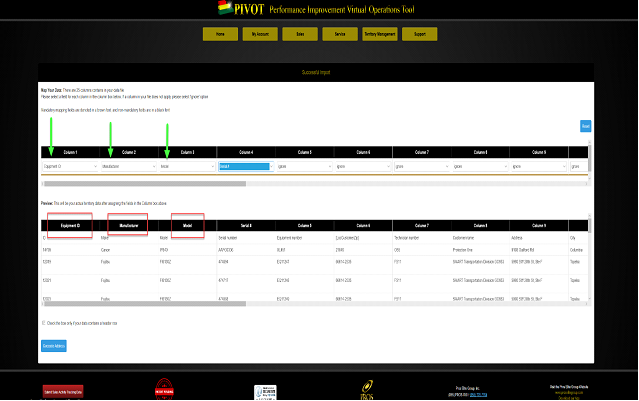
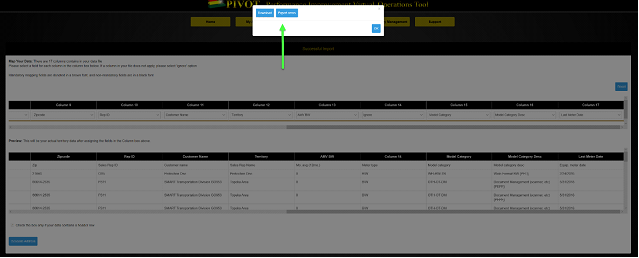
1.7 Starting with the Column 1 dropdown window, link top Pivot Columns with the appropriate Data Columns
Note: Below are the eighteen (18) REQUIRED dropdown categories:
Equipment ID Make Model Serial Number
Equip. Number Street Address City State Zip Sales Rep ID
Customer Name Sales Rep Name Mo. Avg. (12 mo.) Meter Type
Model Category Model Category Description Last Call Last Meter Date
Customer Number
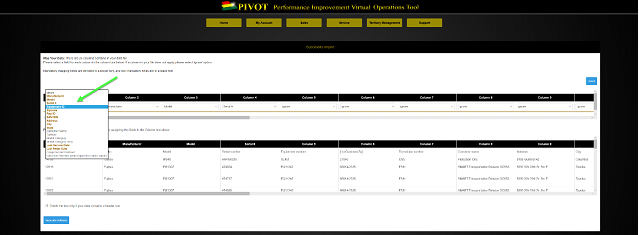
1.8 Sample dropdown to select category
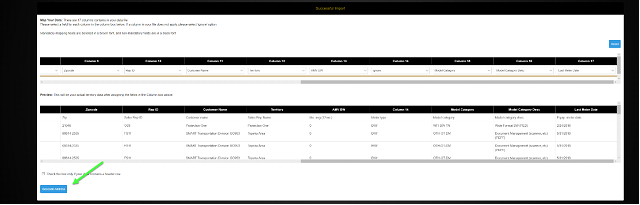
1.9 With all appropriate Columns linked, select the Blue GeoCode Address button
1.10 Using the blue Download and Export Errors icons, download Geocoded file and Error Export File.
Note: Clicking the “OK” button will start the geocoding import process again
1.11 Open and Save files to Desktop
a. Open and Save File labeled Addr_Geo_Converted_Error.csv to your TERRITORY folder on your desktop.
b. Save File labeled address_geocoderxxxxxxxxx to your TERRITORY folder your desktop.
c. Open Addr_Geo_Converted_Error.csv file, verify if errors are present.
NOTE: If errors are present save and forward to your administration to make corrections in e-Automate data base.
d. These corrections will be not be reflected in this upload.
e. If error file is blank, disregard Error file
1.12 This will now be the Black and White Geocoded Sales Territory file used during the Import process.