12.11 Sales Territory Mapping - Creating & Deleting Territory / Assigning Sales ID
12.11 Creating Territory / Assigning Sales ID
Ex. Joe.Smith@companyname.com
Home Screen
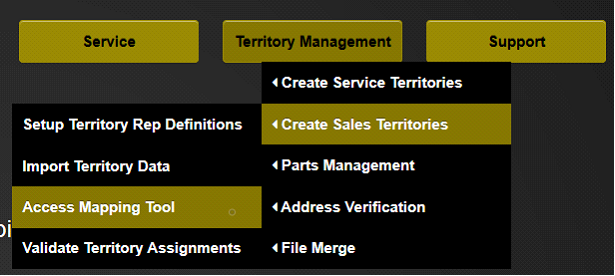
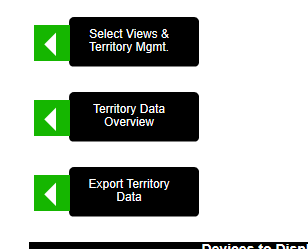
Select Territory Management:
- Create Sales Territories
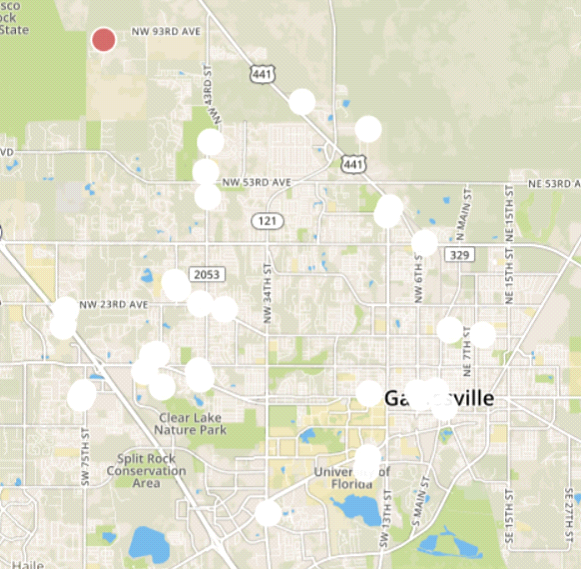
- Access Mapping Tool
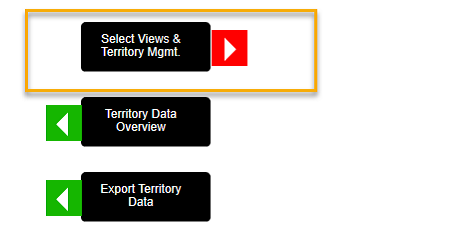
Select the Views & Territory Mgmt. Tab
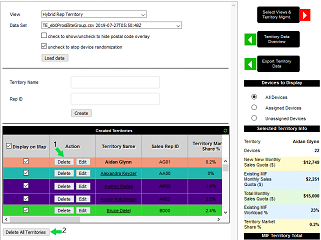
From the Select View & Territory Mgmt. tab, populate the Territory Name window with a descriptive name for the territory being created. Example: NW Orlando
Note: Territory Name must be created in e-Automate exactly as it reads in PIVOT prior to exporting territory data to EA.
Populate the Rep ID window with the Sales Rep you want to assign to the territory and hit the Create icon.
Created Territory will fall to the bottom of your current territory list until list is refreshed, then it will assume alphabetical order.
a. Order of Territories can also be sorted by clicking on the title column i.e. Territory Name, Rep ID, etc.
Deleting Territories
This section describes how to delete a territory or all territories and associated data
To Delete a single Territory Click the “Delete” tab to the left of the Territory Name (Arrow #1)
To Delete all Territories Click the “Delete All Territories” at (Arrow #2)
6. Confirm Deletion Selection by clicking the “Yes” Tab
Assigning Equipment
Once the Territories) are created you will have the ability to assign equipment to and from the desired territories.
This is done using two primary methods, Single add and Bulk add.
First Select the territory you wish to edit by clicking on the name of the territory desired. The territory name will change to bold text indicating that you are now working in that territory.
Information regarding the territory you have selected will appear to the right of the
Create Territory window in the window labeled Selected Territory info.
Now that you have selected your desired territory, click on the Select View and Territory management tab to close the pop out window.
The Bulk Change drawing tools are located in the top right corner of the map. There are 3 drawing methods to choose from:
A. The Poly Line
B. Octagon
C. Rectangle
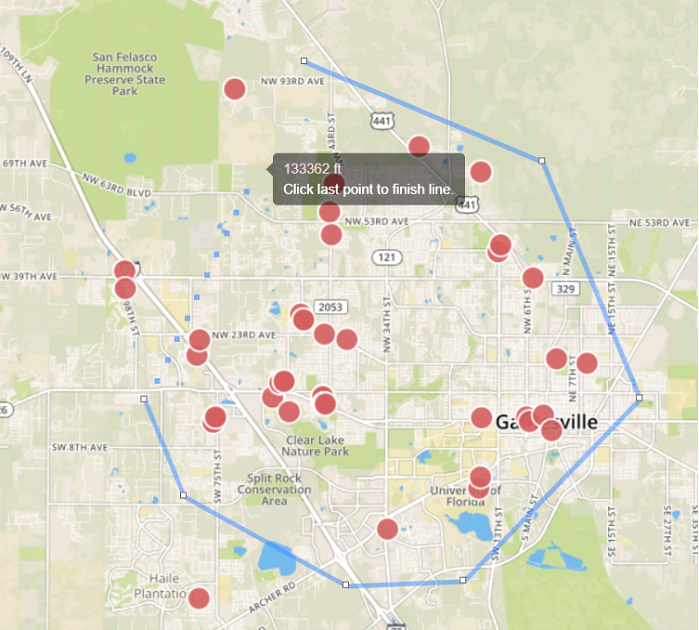
Using the Ploy Line
Click in close proximity to the equipment to begin equipment selection
Once desired equipment is encompassed, Double Click last waypoint.
Do Not close Poly line box
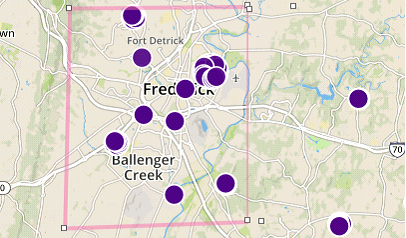
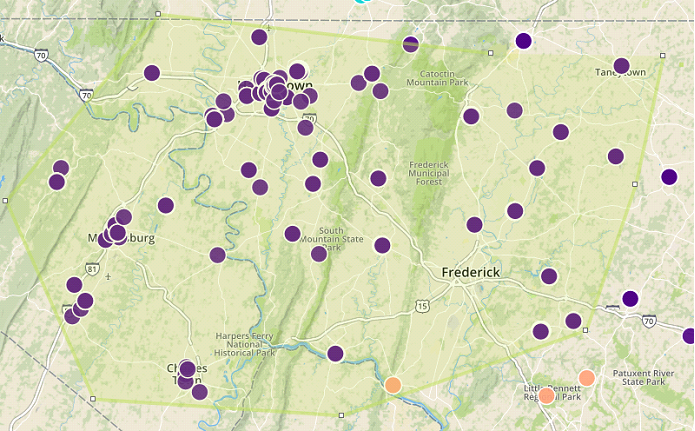
Selected equipment will change colors and be assigned to the previously select Territory/Rep ID
Using the Polygon:
The Polygon works similar to the Poly Line. Click in close proximity to the equipment to begin encompassing desired equipment.
Once the last waypoint, Double Click to close Polygon
Selected equipment will change colors and be assigned to the previously select Territory/Rep ID
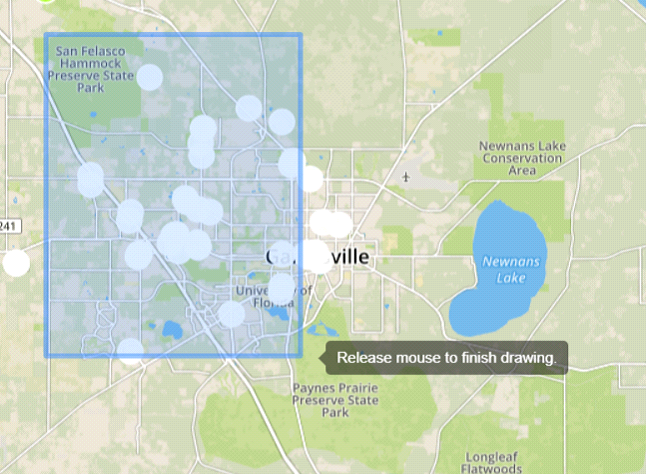
Using the Draw Rectangle tool
· select your starting point and drag across the desired equipment.
· Selected equipment will change colors and be assigned to the previously select Territory/Rep ID
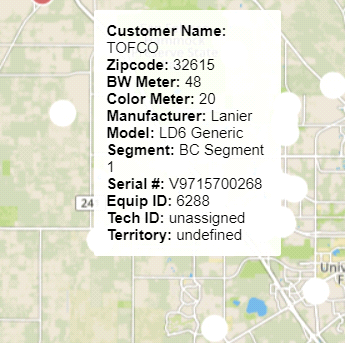
Using assign a single unit
Place curser over desired selection and single click to assign or unassign
To Unassign Equipment, using the exact same processes list above
Select the preferred drawing tool. Once desired equipment is encompassed, Double Click last waypoint.
Do Not close Poly line box
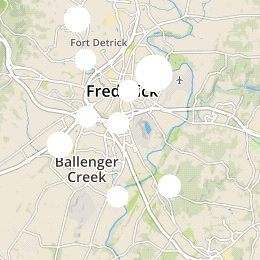
Selected equipment will change colors and be unassigned from that Territory/Rep ID