12.0 Sales Territory Data Extraction (Manual Process)
In this section we'll describe how to manually extract Territory Data for upload into PIVOT.
NOTE: Before proceeding, you will need to create a sub-folder in your My Document folder labeled Sales Territories. This is where you will deposit your downloaded Sales files.
1.0 Extracting Sales Rep. Data from CRM
If Sales Rep. assignments are contained in your
CRM, you will need to download the below information as a .CSV file and saved in your Sales Territory folder just created. This data will be used in
Section 12.1
2.0 Creating Eview - E-Automate Users
Exporting your device data from e-Automate will require a working understanding of e-Views. This document will guide you through the basic steps to getting your data ready for importing into PIVOT. All screen captures were created with e-View version 8.x thru 17.x, instructions may vary slightly based on your version.***
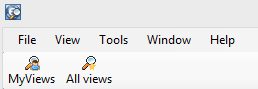
1. From the e-Automate main application, launch e-Views by clicking on Tools – e-Views.
2. Click on MyViews or Favorites
3. Click on New to start a new view.
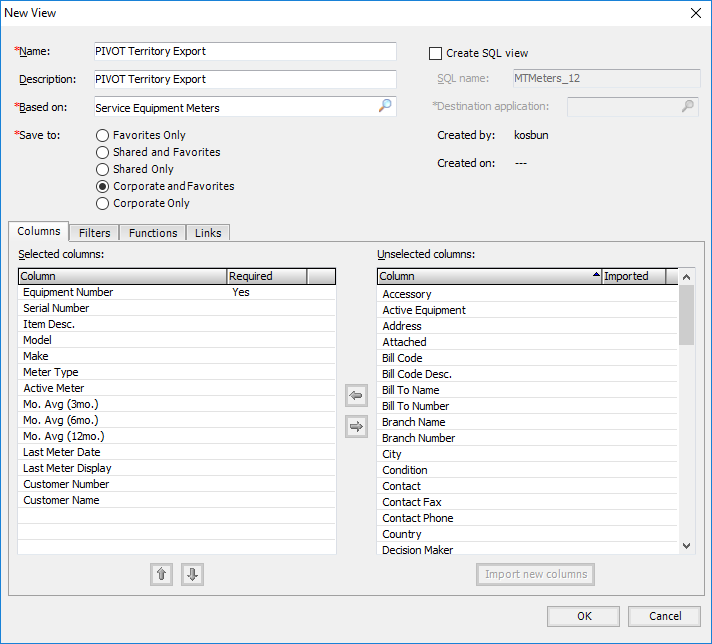
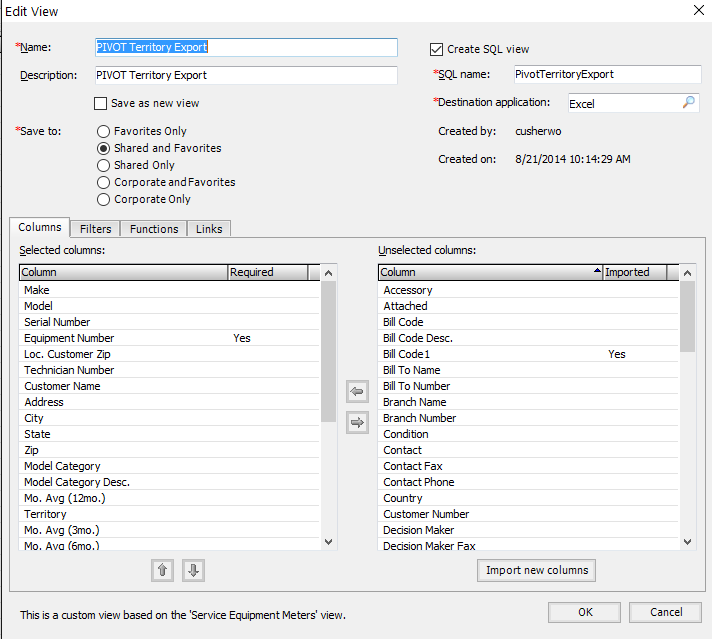
4. Create a Name for your new view. Example: “PIVOT Territory Export”
5. Create a Description for your new view. Example: “PIVOT Territory Export”
6. In the window named Based on: Select “Service Equipment Meters”
7. Using the column selection arrows circled below, select the following mandatory fields:
a. Active Equipment
b. Make
c. Model
d. Serial Number
e. Equipment Number
f. Street Address
g. City
h. State
i. Zip
j. Sales Rep. ID
k. Customer Name
l. Slaes Rep Name
m. Mo. Avg. (12mo.)
n. Meter Type
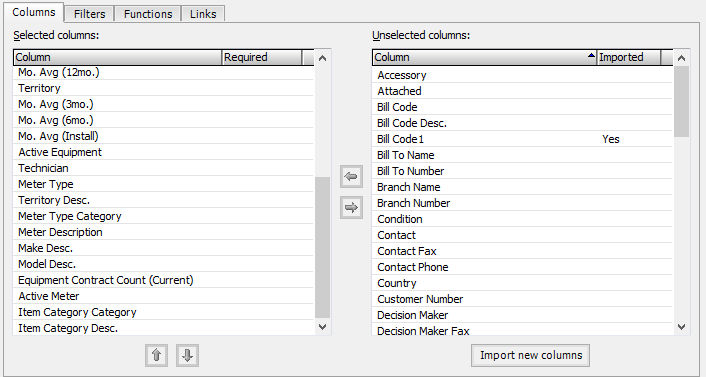
8. Save Template then reopen Template and select “Import New Column” icon
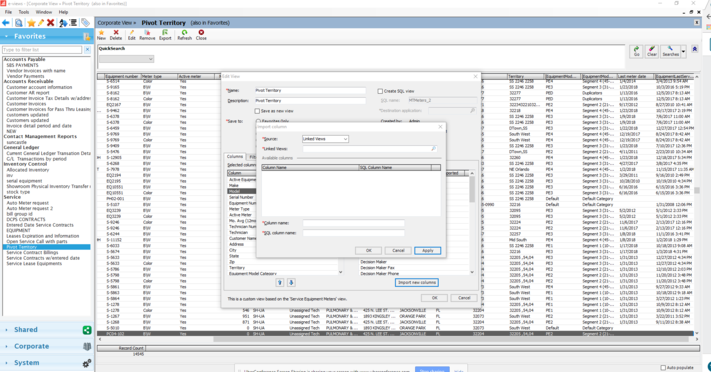
9. From the Import column screen select the magnifying glass in the Linked Views Window.
10. Scroll down and select "Service Equipment (Equipment)"
11. From the Service Equipment window, add the following fields to your e-View Un-Selected window. Once complete hit the Apply button then OK
a. Model Category
b. Model Category Desc.
c. Last Call Date
d. Last Meter Date
e. Customer Number
f. Contract Count Current - Note that once "Contract Count Current" is added to the Unselected columns window, the name will change to "Equipment Contract Count (Current)
12. Once you have added the 4 new columns to your Un-selected Columns field, use the arrow indicated below to add your new columns to the Selected Columns field (Left Window)
13. Using the up and down arrows, arrange the mandatory fields in the order previously listed on page 3 of this manual.
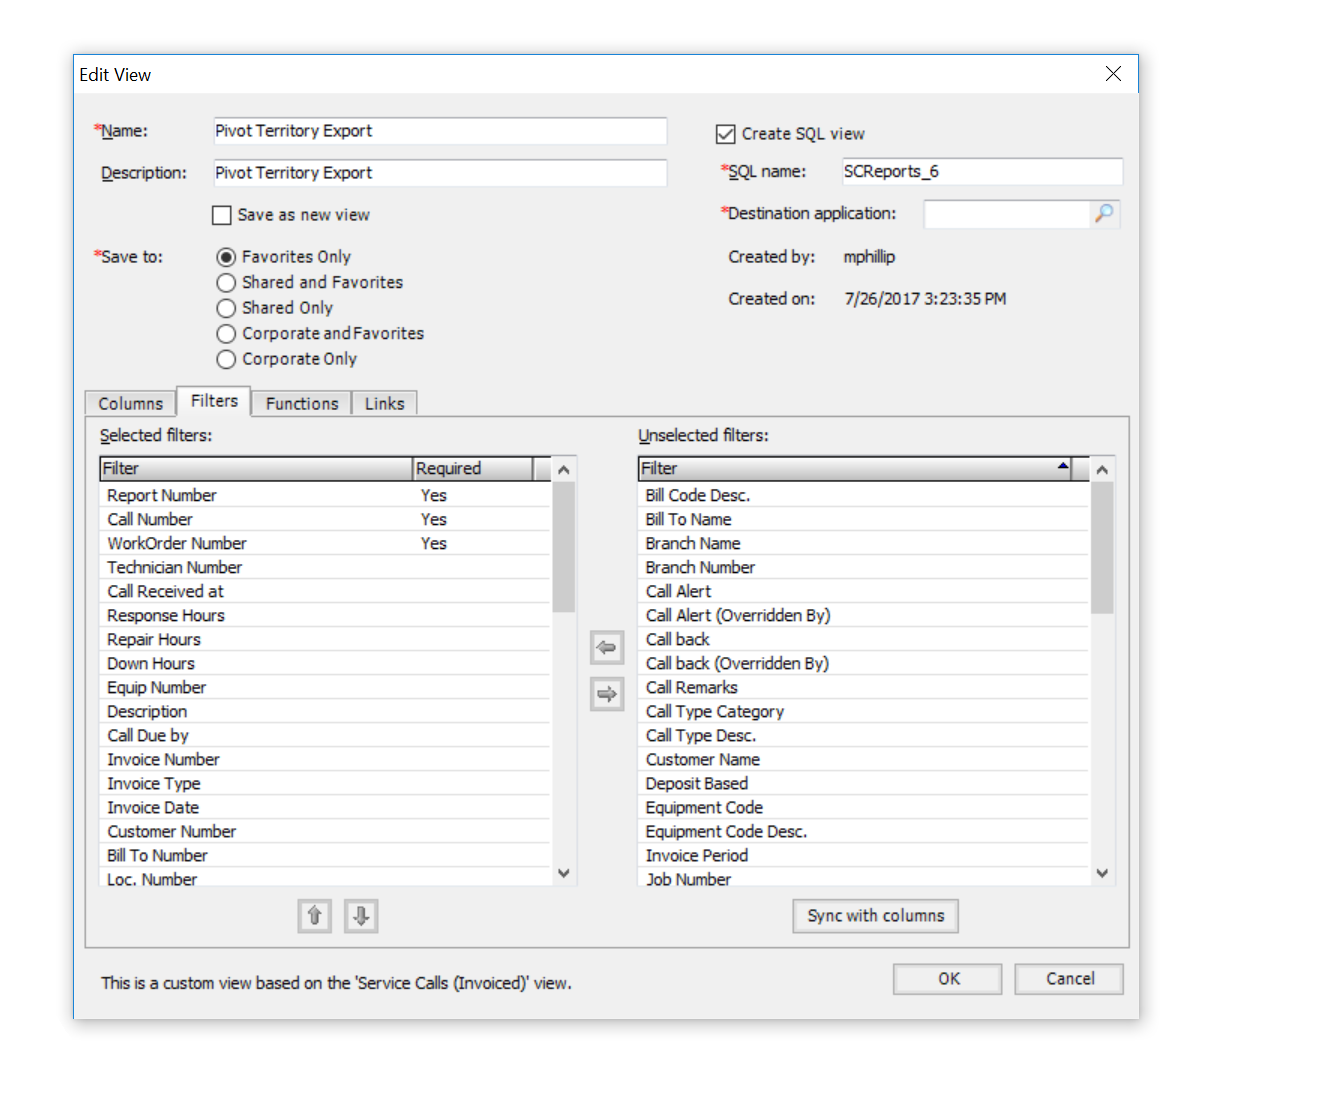
14. Select the Filters tab
15. Select the Sync with Columns button at the bottom of the e-View window.
16. Prior to completion of the Eview, verify that all the columns listed below are present in your Eview Export. All columns not listed below should be deleted from Eview.
17. Click OK to compete the e-View creation.
3.0 Report Filtering
From the primary e-View screen, Double-click the e-View titled “Pivot Territory Export”
18. Using the QuickSearch dropdown window, select Active Equipment
a. In the pop out window select equals
b. Click the Yes radio button
c. In the right drop down window select And
d. Select contains from the second drop down box
e. Beginning with the second row of your filter in the QuickSearch header select Meter type
f. In the description window type B\W and hit the Go button
4.0 Completed View
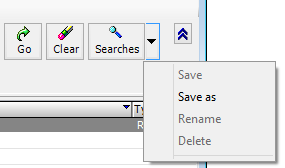
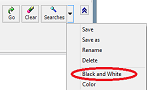
18. Save your search for future use, click the drop down arrow, click Save as.
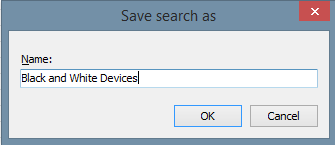
19. Type the name of your new filter, this name will need to denote this filter is for black and white device meters.
See Line 24 for Saving Instruction
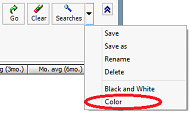
20. Create the same filters for exporting of your color meters.
21. Using the QuickSearch dropdown window, select Active Equipment
a. In the pop out window select equals
b. Click the Yes radio button
c. In the right dropdown window select And
d. Select contains from the second drop down box
e. Beginning with the second row of your filter
in the QuickSearch header select Meter type
f. In the description window type Color and hit the Go button
22. Save your search for future use, click the drop down arrow, click Save as.
23. Type the name of your new filter, this name will need to denote this filter is for black and white device meters.
a. This file will be saved in your Territory folder created earlier in section 1
See Line 27 for Saving Instruction
Exporting and Saving Eview Export
NOTE: You will need to create two separate Excel files for importing into PIVOT, one file containing Black / White meters and one for Equipment containing a Color meters.
24. Using the newly created filter search select your black and white filter
25. Click on the Export icon from e-Views
26. Select and highlight all header rows and all data below the header rows. Copy data to a new tab (Sheet2) in your existing spreadsheet. Save this new tab as Excel .csv commas delimited
27. Using the File created in 1.0 of this Section, Save your new spreadsheet with a logical name that will denote the black and white meters and date.
Export Color Device Data
27. Using the newly created filter search select your color filter.
28. Click on the Export icon from e-Views
29. Select and highlight all header rows and all data below the header rows. Copy data to a new tab (Sheet2) in your existing spreadsheet. Save this new tab as Excel .csv commas delimited
30. Using the File created in 1.0 of this Section, Save your new spreadsheet with a logical name that will denote the Color meters and date.
-
-
Each file must be uploaded separately